High-Key Photography – Digital Photography Techniques
Here's one interesting note - as I was looking through a couple of older (pre-1960s) photography journals, I realized there was a certain obsession with acquiring a full range of tones - there was this incredible trend of always having everything done on the rules.
Photography critics have acknowledged the fact that this high key photography style might have been the result of a reaction movement precisely against those rules. If you remember, the sixties were a time of rebellion from more than one point of view - therefore it wouldn't be surprising if this would have followed the same "break the rule" trend.
High-key photography certainly started making regular appearances during the 1960s and later on it became an interesting way of combining that "mistake" of an overexposure with incredibly silky tones.
What Is High Key Photography
We started this tutorial with an obvious art-related note, but it's important that we start by defining high-key photography. Basically, the title says it all - it generally means that the key tone (which is the tone of the image itself) is high. But obviously, that's not all that there is to it - there is an artistic depth to high-key photography.
A common mistake nowadays that has filled Facebook accounts and Tumblr pages is the over-exposure of certain images. Sorry everyone, overexposing your image at random won't grant you high key images - they'll just grant you badly exposed images. Period.
Another thing high key photography isn't? Well, remember those high-contrast images that look as if the entire lighten area is actually burnt? No, that's not high key photography either.
You're not supposed to have incredibly sharp shadows and burnt areas. High photography has a certain degree of detail, of sheer shadows rather than dark and deep shadows. In some cases, using deep shadows might be a smart idea, but only if they're used right - but again, that's not what makes high key photography.
High-Key photography
Here's the catch - whereas the tones of a high-key photography are high (obviously), there's quite a great amount of detail between areas. This means that it's not enough to have some lightened areas, you have to still have those in-between parts too.
How To Obtain Successful High-Key Photographs
Working with light is essential with high-photography. Generous light coming through a uniform source is important, but if you can work with different lighting systems then that would easily work too. Avoid using anything that might create contrasting situations - for example the use of dark clothes does not always make a good idea since that involves deep shadows and a lot of dark tones.
That doesn't mean that it won't work - but it means that when you're just getting started you should make things easier for yourself. Try to fill in different shadows with existing light or simply change your position. The way you take your photographs is directly affected by the lighting you have.
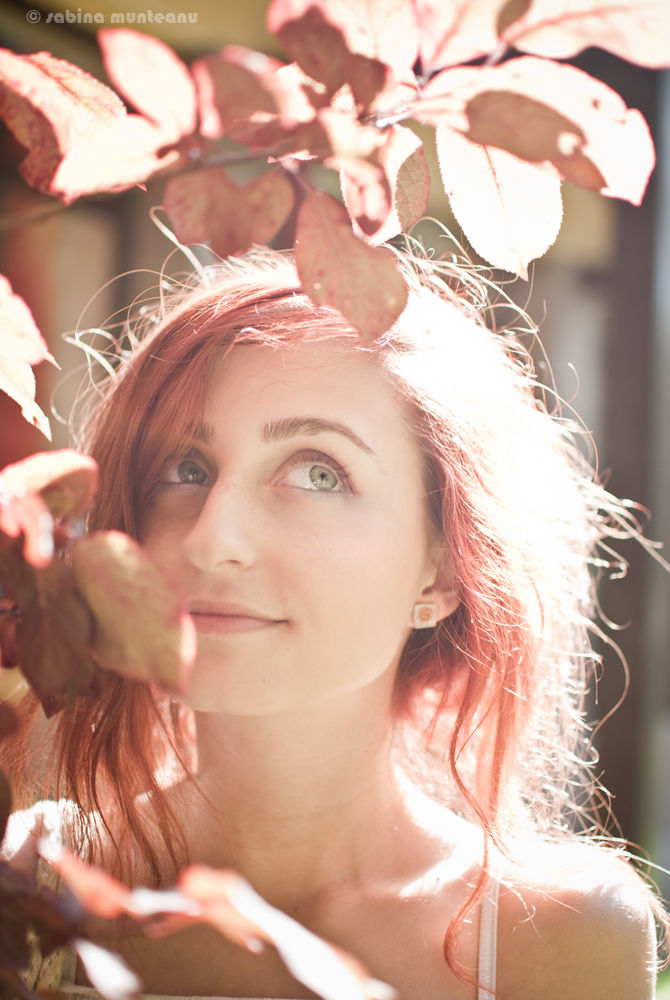
Notice the image above - there was a lot of sunlight coming from the back of the model, and I used a flash to fill in for the shadows created by the contre-jour. I went up a few stops to make sure I allow more light to enter the camera, and I obtained those silky notes without actually ruining the details.
The sharpness of the iris, of the lips and overall the skin is especially important when attempting to build a high-key portrait.

