How to create your own photo gallery
The World Wide Web has given photographers a whole new way of showcasing the beauty of their artwork with the use of online photo galleries. Having your work visible on the Internet can pay off well for professional photographers when attracting new clients. And, for the hobby photographer, an online photo gallery is a great way to make a little money or simply to proudly display their achievements.
Photo sharing has become popular worldwide and the Internet makes it so easy. What is not easy is how to choose what medium to use to share or display your photos in. You can choose whether you share your photos privately or publicly.
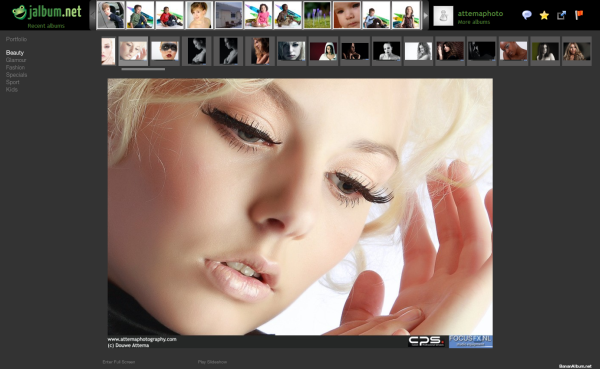
jAlbum
So how do you create your own photo gallery online?
Tips for Creating a Web Photo Gallery
First choose the medium you are going to use – a free application you download online, a web gallery with paid hosting or even a web photo gallery built as part of your website. There are a lot of choices, some are better than others, and it is really a matter of choice on how you display, and share you photos online. Things to consider when choosing an application for your online photo gallery include:
· What is the purpose of the photo gallery? If you are a professional photographer you are probably not going to use something like photobucket to display your photos, whereas photobucket can be appropriate for an individual who is sharing family photos.
· Research Online Photo Galleries. Do some research into what photo galleries are available – take a look at the options, compare the functionality, loading speed and storage space each one offers. Many free photo galleries only have a very low limit of available upload space for free. When you reach that limit you are then required to pay to upgrade your account – it may be you are better off with a paid or hosted web photo gallery in the first place.
· Do you want to Sell your Photos Online? Have you thought about selling your photos online? Many galleries have the functionality to sell your photos through them.
Now you have chosen the web application you are going to use for your online photo gallery – what next? One thing I find useful is to prepare all my photos for uploading at once. Here are some tips that will make the job easy:
· Look at your photos and divide them into categories. Use the same file name as you are going to use in your online photo gallery. This makes uploading simple and uncomplicated.
· Name each photo – instead of naming them photo1, photo2, give them a meaningful and descriptive name (e.g., paragliding in Chile) that will help to optimize your online photo gallery for the search engines to find. After all, you want people to find your online photo gallery.
· Put a copyright notice on your photos and resize your photos ready for uploading. This can be tricky if you are only learning. Resize your photos to the size you want your visitors to see them, then drop the file size to around 10 kb, without physically changing the size. There are plenty of free programs that will do this for you. This is a good size for an online photo gallery as it makes the photos useless to most people because the file size is so small and will not reproduce very well. It also gives a really fast loading photo that keeps the page loading time to a minimum.
· Keep the photo gallery’s layout simple and make it easy for your visitors to use. Group the same size photos together if you can for a pleasing, aesthetic look.
The most important thing is to have fun, and if you are a professional photographer make sure your online photo gallery reflects who you are as a professional.
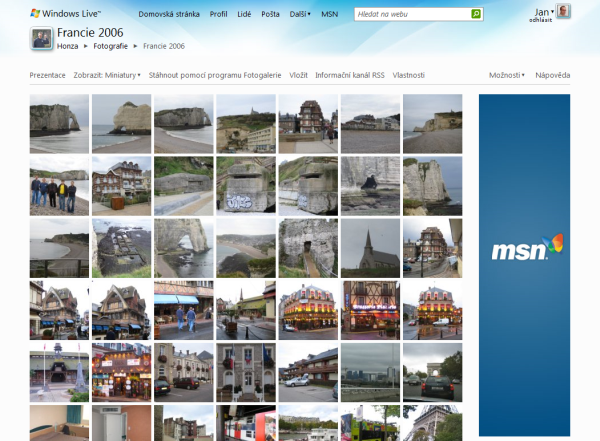
Windows Live Photos

