Removal of Red Eye Defect Using Zoner Photo Studio 10
Zoner Photo Studio 10 is the best and probable one of the most efficient tools to organize your photos. With this software, you get an all-in-one photos editing and managing program that not only allows you to upgrade your photos and edit them but also supports sharing!
Features
- An all round solution in managing photos
- GPS support
- Selection through thumbnails
- Color editing more superior and intricate
- More evolved sharpening functions
- Separate windows for Browser, Editor and Navigator.
- More improved ser interface in a new vista style!
- Direct preview in the main Editor window.
- Permanent rotation of photos during slideshow possible
Editing Tools
A unique photograph editing is the domain feature of this software. The basic problems of photographs related to exposure, especially for digital photography and re-editing of the same are given close attention while designing the software.
More efficient editing and retouch is now possible with the help of pressure-sensitive tablets, allowing the intensity to modify the retouching.
Composition of HDR (High Dynamic Range) pictures, along with combining pictures with a varied exposure-range (termed as "sandwiching").
The latest added feature: “Variations filter” enables you pick pictures and view them from numerous color and brightness variations.
A Unique watermarking editing feature for text and overlays of images is quite essential.
Removal of Red Eye Defect Using Zoner Photo Studio 10
Just a few clicks and red eye gone!
Step1. Open the image file from Browser window as shown in figure 1.

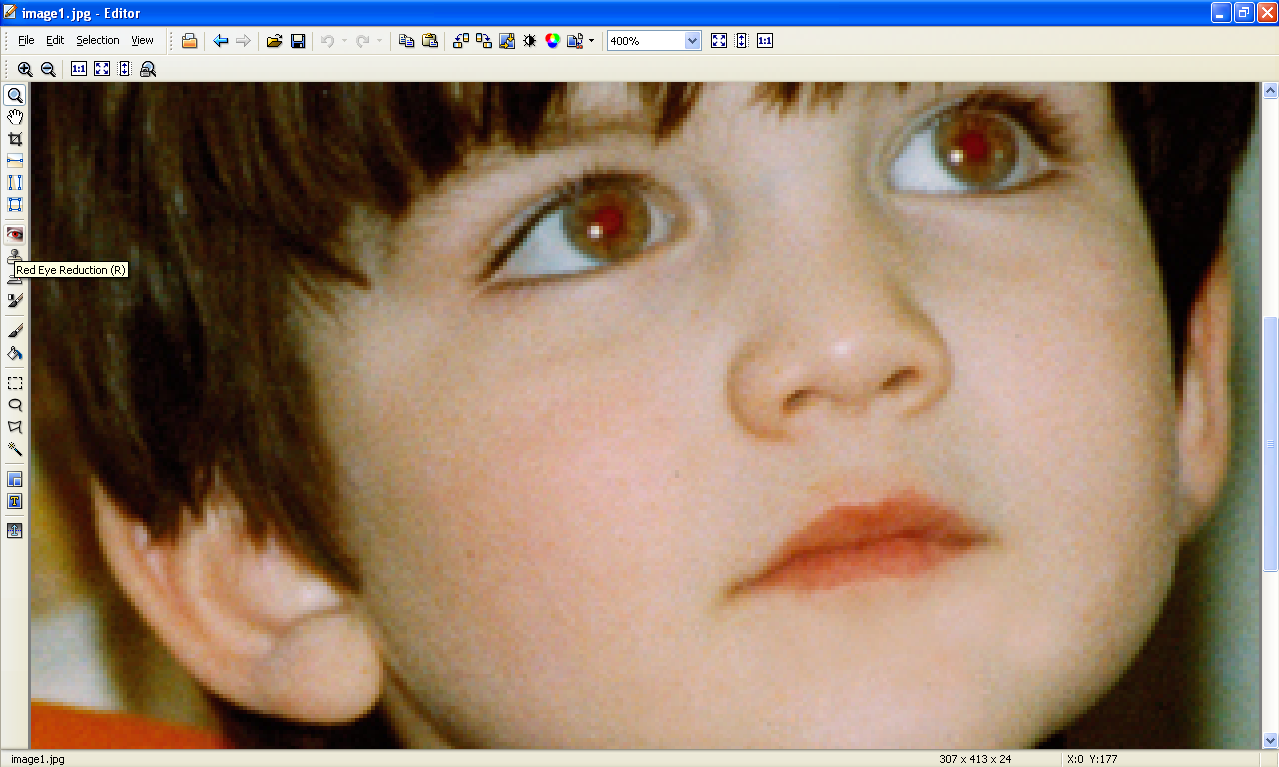
Step2. Zoom the image with red eye affected area and using the circular selection tool and select the part of the pupil which is red as shown in figure 2

Step3. Now click the “Red Eye Reduction Tool” form the tools menu in the editor window

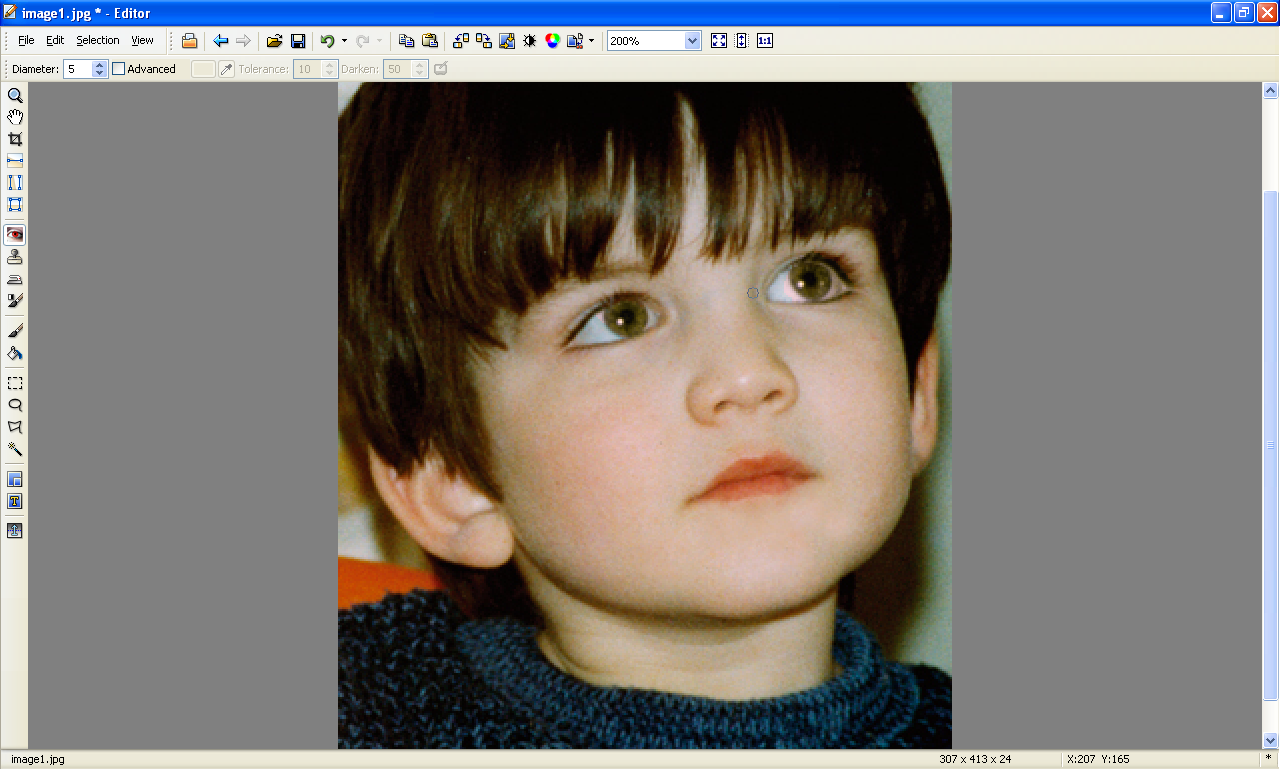
Step4. Click on the affected parts of both the pupils. For effective removal drag and move the circular selection over the affected area as shown in figure 4.
Step5. Red eye defect is removed, just save the changes… as shown in figure 5.
This is probably one of the most efficient tools for the removal of red eye!

