How to take Photographs of Night Sky
Photography is an art of imagination, vision, or consideration. It’s an ability to foresee the end result in your mind's eye, and then to make it with the tools. The method of photographing the night sky comes under the category of astrophotography. Taking Photographs of night sky is comparatively difficult than the photographs of sky taken in daylight. However surprisingly any one can take the best quality wide angle photographs of the night sky by using single lens reflex 35 mm traditional film or digital cameras.
Going trough these steps will help you to master the art of taking better photos of night sky.
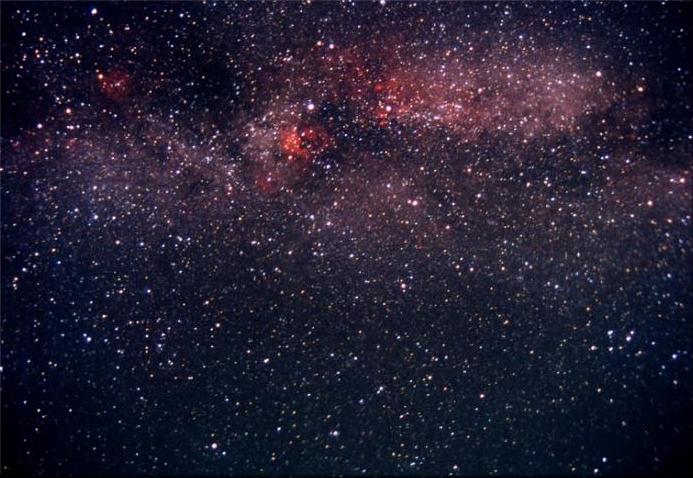
Image 1: Photograph of stars taken in night (source)
Mounting the camera and setting the speed
Light levels at night are very low hence a tripod stand is necessary to hold the camera still. Mount the camera on the tripod stand. If you are using the traditional camera then load the camera with a high speed film (Min ISO 200). For digital camera set the speed between 200 and 800. Optional: if you have telescope or telephoto lenses then you can connect it to your camera.
Turn off the auto focus mechanism
Turn the auto focus mechanism off and then manually set the ring of the lens to infinity and opt the T-setting on the shutter control ring.
Shutter Speed for Night Sky Photos
Using the shutter speed option you can decide on how long the lens aperture will remain open. Using longer exposures you can film or shoot good distant, dimmer objects such as nebulae or dim stars. You may even put it in a mode wherein the shutter will remain open until the shutter release is pressed again. You can set the shutter speed to the bulb setting, or can set it at a range of settings between 2 and 40 seconds.
Positioning Yourself
Search for a relative potion on the ground in a way where you can see the entire sky. The best option can be a huge terrace where you can frame the sky. However you have to check that there is no obstacle coming in between such as buildings or trees.
Position the camera and start shooting the night sky
Position the camera at the preferred area wherein you can frame the sky. Adjust the timer settings of the camera according to the desired time. Now trip the shutter it is better if you do this by using cable release/remote control in order to minimize the distortion. To make sure that you actually capture the sky pictures you need to ‘bracket’ your exposures. Means plan in a way of having minimum 4-5 exposures for every photograph you want. This will help you to choose the best photograph out of it.
Going through this article will help you to learn the trick of taking photographs of night sky. Using these techniques you can even take pictures of moon, stars and galaxy.
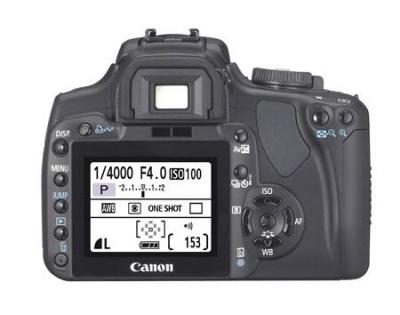
Image 3 Settings Display for your camera for taking night sky photos

