How to take photos at night
Taking pictures at night, there are lots of parameters involved that are to be taken into consideration. The intensity of light, surrounding environment, the subject condition, climatic condition, etc; are few of them. Also the camera setting changes with slight change into the above parameters. Taking photo at night is an art which has to be mastered before trying a hand on. Discussed below in the article are some steps and tips, if you follow this then it will give you good outcomes.
Requirements
At first we should have Notebook, Pen, Index Card (White), Digital Camera having SLR feature, Film, Tripod Camera Stand.
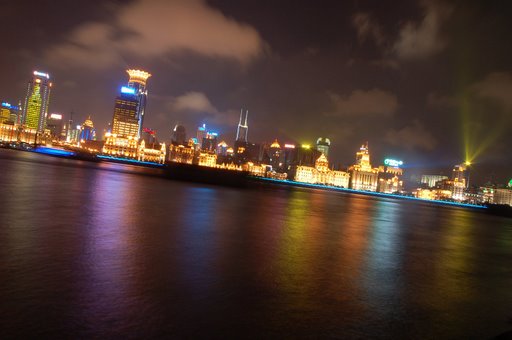
Fig.1 Picture taken without using Flash
Steps Involved
1] Take a tripod having low pace film (less than ISO100) if we are taking the picture of any architecture or landscape then use high pace film (greater than ISO400). High pace films have more grain which can be noticed but low pace films needs more time for exposure so we can't use it for the moving objects.
2] If reading of meter facility is not available then set the pace of film to greater film pace and then multiply the time of exposure accordingly.
3] If you are using moonlight (or evening Sun light See figure.1) to light the subject then you can try taking the light measurement reading using a piece of card which is white and then multiply the required setting by six. This will give you the approximate reading.
4] Consider that illumination of moonlight is at 1/5kth of that of the sunlight. So it is clear that if we are taking the picture at shutter pace of 1/1000 for sunlight then it will require 5 sec for moonlight.
5] Underexpose the film by increasing pace of film rate on the camera being used by you so that it will increase exposure that too without resorting the flash.
To be considered
- Always the film characteristics should be known by us. Keep in mind different brands and different speed reacts in different manner in night pictures.
- Always note down the different settings you have made for different light conditions don’t forget to compare the results.
- Dusk is device which provides greater altitudes for getting all the details in picture. Also we can achieve different range of details if the film used by us is color.
- Always bracket the exposures where ever it’s possible. Shoot the mobile subjects in one go then adjust development of whole roll developing one or two frames. This will help you further and will give you an idea of further development of the roll.
- If you are not having the tripod search for a stationary thing where you can keep your camera for stability
- Now day’s digital cameras come with ISO set mode from where this mode can be adjusted. So always keep in mind higher the value of this mode is set, better is the quality of the picture taken at night. But there is the limitation, more the ISO value is set noisier the picture becomes. It is also not feasible to keep the auto set mode for ISO as the camera sets the value to high in night. So for a decent shot run the picture through neat image editing software to get rid of the noise?
- Avoid using flash if the area where the picture is to be taken is well lighted (See figure 2). If flash is used as the single source of light then we will not get better quality of picture.
Here are some of the outcomes of the procedures discussed above;
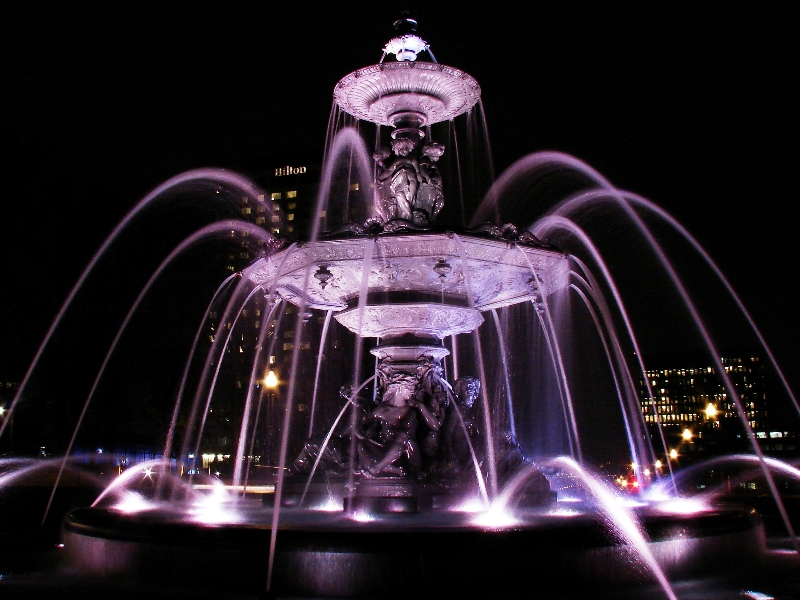
Fig.2 Picture of a Fountain taken at night
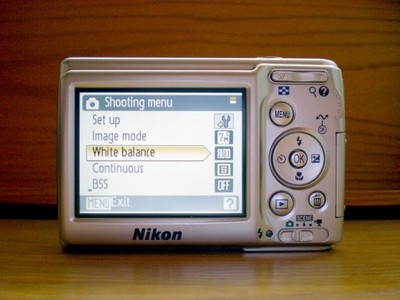
Figure.3 Settings for Camera

