How to take photographs at the Museum?
One may consider museum photography to be an obviously easy job since the subject is static and defined. But this may be challenging enough with the restrictions in the museum. For example, photographing in museums, etc where there is restriction on use of equipments and also inconvenient considering the crowd, the main challenge is to keep the hand stable. With the decreasing weight of digital cameras, it becomes quintessential to use tripods and stands to avoid camera shake, which at times are not permissible. Also the lighting conditions and the crowd pose hindrances for clear and desired photography in museums. Thus considering these obstacles one will have to find out alternatives to solving them to achieve desired results.

Image.1 Photo with white Background (source)
Prohibited Equipments
Usually still cameras are not allowed in several museums. Also flash lights are prohibited in case of art works etc. One must contact the museum's public information officer or registration department prior to planning the photography session to find out their policy. In some cases if you are luckier enough they may allow you to use these equipments.
Limitations on art work, etc that can be photographed
In some cases, museums often put limitations on art work allowable for photography for protection of artist’s copyrights or if the art work is very delicate and can be damaged by flash light etc.

Image.2 Museum Painting (source)
Although such limitations exist no one can resist the temptation of photographing the famous artifacts.
1. Try and avoid the crowds and you can scheme the easily. This needs you to plan out your photography session. Try and observe timings or days when museum isn’t crowded. Avoid visits on holidays or weekends.
2. It is very essential to set your white- balance manually; otherwise the results may be yellowish. It is advisable to take a piece of white cardboard along with you so as to set up your digital camera's white balance according to lighting conditions. Although, if you forget this you can manipulate it with photo editing software.
3. Most common mistake done by novices is use of flash, which gets reflected badly. Prior to your visit, adjust your camera to give better results in low-light conditions.
4. Off angle photographs of objects under glass help in reducing reflections.
5. Since you cannot manipulate the conditions available in the museum, take plenty of photographs.
6. Turn on the “image stabilization” option in your digital camera, if it is available.
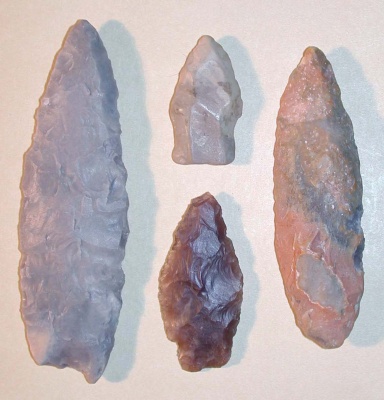
Image.3 Stone Age Artifacts (source)
Most importantly, do not hesitate to take several photos of a particular subject at various angles, so that you do not regret of having missed on anything in the visit.

