How to Use a Gray Card
Color management in photography can be a difficult task. I mean, displays usually show different colors – have you ever compared the image that you see on your camera display, on your computer screen and then out of your printer?
Quite a number of differences, and often it is hard to notice which colors are correct. Both the computer screen and the camera display can show distorted colors, and calibrating your printer depends on what you see on your screen. The gray card can prove to be quite useful in this particular process of choosing the right color management.
Since we cannot always find the best arbiter (maybe with the exception of a colorimeter but that can only be used to calibrate your monitor, and in very expensive cases, your printer), the cheapest solution is to use the eyedropper tool in Photoshop.
In this case, all you have to do is open in Photoshop a picture of your gray card and check its Red, Green and Blue numeric values in order to find out the color balance of your camera. Obviously, the first use of a gray card is as a diagnostic tool, to find out the real values of your camera’s white balance. It does not really matter whether you shoot in RAW or JPG or whether you choose sRGB over AdobeRGB because the gray card image will tell you the actual color balance of your camera, meaning that you should be able to understand some of those K numbers better (color temperature, measured in Kelvins – you will encounter it every time you try to manually set your white balance)
A second use of the gray card proves to be more interesting, and for that matter a lot more helpful. You see, the gray card can be used as a tool for automatic correction – meaning that no matter if you shot in RAW and forgot to switch the white balance preset from tungsten to sunny, as you wanted it, you will be able to correct it with just a few clicks without any damage to the original image.
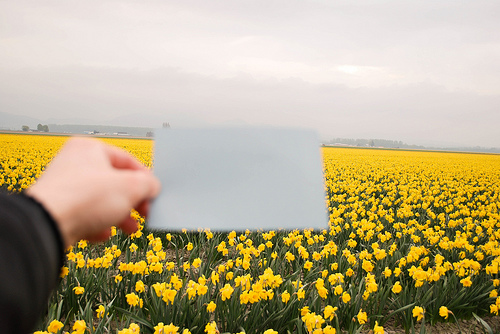
Gray card
This can be done using the center eyedropper, which can be found in Adobe Camera Raw – this will copy the presets of the photo of the gray card (more precisely the R G B values) and apply them to your bad photo.
The result? Correct white balance, just like that. However, including a gray card with every image you have to correct can prove to be a real waste of times. The great thing about it is that you can build your own present, which can be applied to each of your photos.
You will notice this is truly helpful when you have a great bundle of pictures which need fast white balance correction – consider doing it one picture at the time and you will probably forget about it after the first ten or twenty pictures.

