Simple Techniques You Can Use To Enhance Your Images Using Adobe Lightroom & Photoshop
Some time ago, we discussed a bunch of simple tips you can use to make your photos stand out from the crowd. Last time, we worked on a landscape however this time it should be interesting to work on a portrait, and prove the power of Lightroom with just a few clicks.
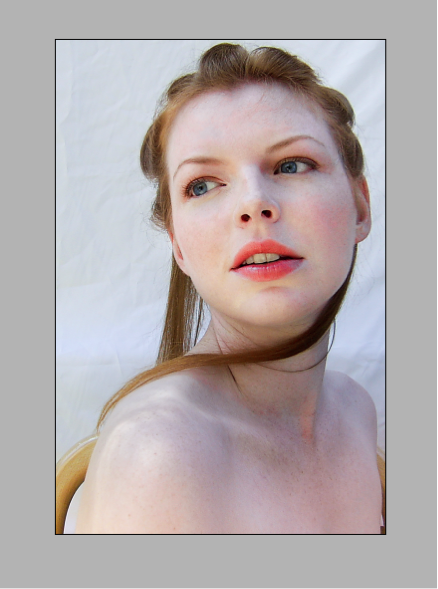
1. Work On Your Cropping
Wrongly framing your image happens - especially if you are not used to taking portraits or if you do not have a precise moment or direction to photograph. In this case, you can take some time and figure out what your image should say, or at least where the viewer's eyes should be lead when looking at the image. You can try different cropings and figure out which one suits your idea best. If you're not sure, simply let it be for a while, then start again, at least you'll know how you feel about your previous ideas.

2. Lighten Up Your Image
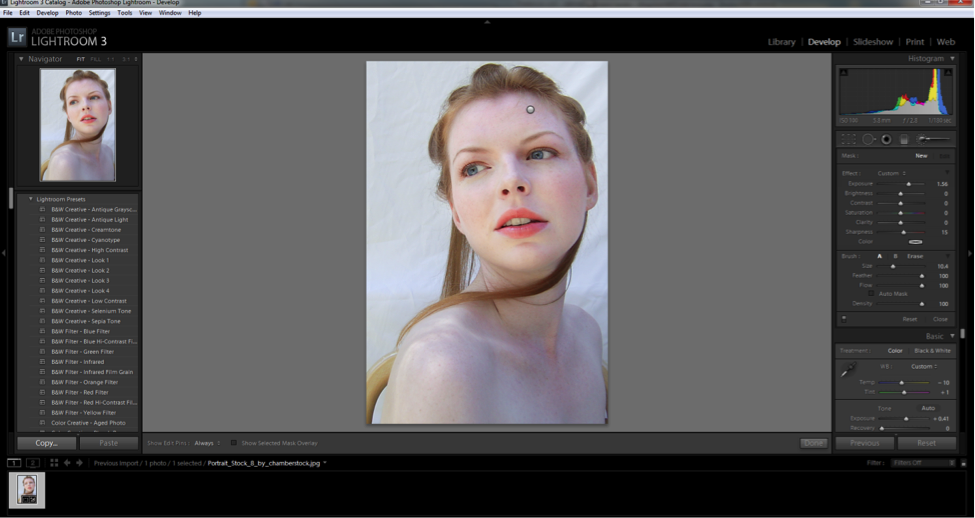
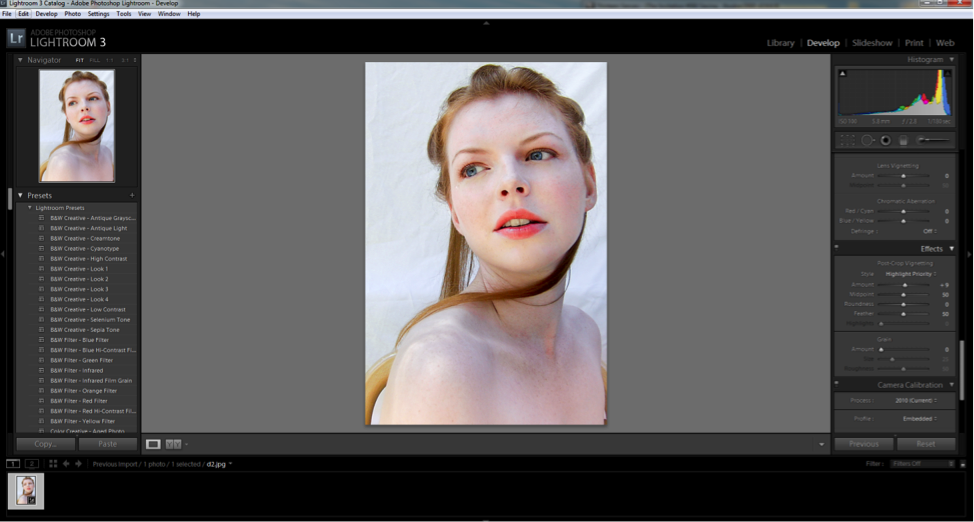
Most of the times, the image you will take should be a little underexposed, to ensure that you have enough data in your RAW file to compensate. In most cases, portraits should be luminous, the skin should be radiant and so on. For this particular reason you might want to change the White Balance setting as well and reduce redness. If your model has a particular skin that has already enough red tint, you should make sure your photograph does not enhance that as well (if for example you have your color setting set on Vivid, in your camera settings). As you can see, I raised the exposure a bit, corrected the redness, and made the crop we discussed above, and we can already see some noticeable differences.

3. Lighten Up Even Further
Using the Healing Brush you can lighten up important parts of your image, without affecting the rest of the image. In this case, it looks like you used a soft flash on her skin and compensated for any possible shadows. The result? A more luminous skin, a general fresh view, and a better overall outcome.
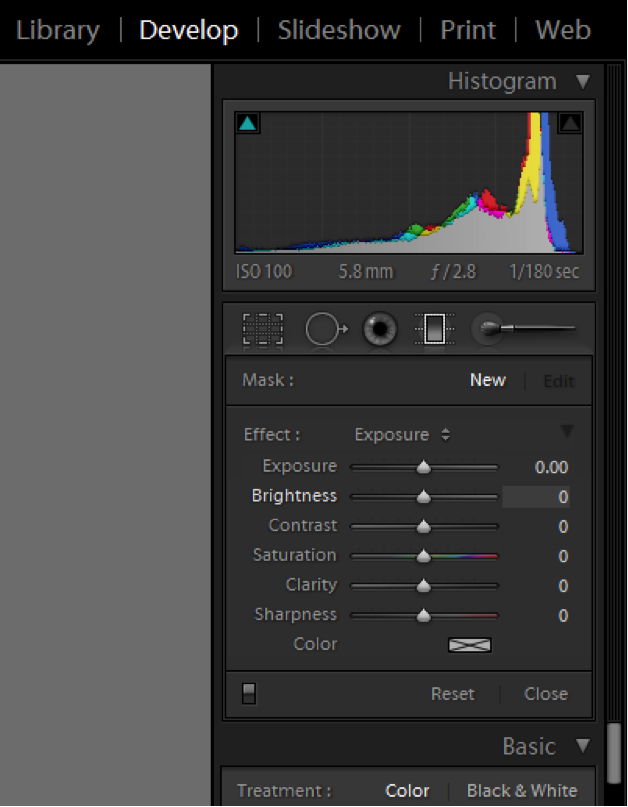
At times, you can even use the Gradual Filter option to lighten up certain corners or sections of your image. Basically, you select the tool, and drag it from the corner to a point where it lightens up the area that was too dark up to that point. You can use the Exposure slider to go back and forth between exposures and see which one is more natural.
4. Revisiting Contrasts
With all this lighting up thing you must have lost some essential contrast by now, and the image must look rather flat. Now, one thing you can do in order to make sure only certain shadows are accented is using the Blacks slider and sliding it to the right with just a few increments - you will immediately see the difference. The secret is not to go overboard with this setting since you might need more contrast later and it's best to apply it gradually, based on needs

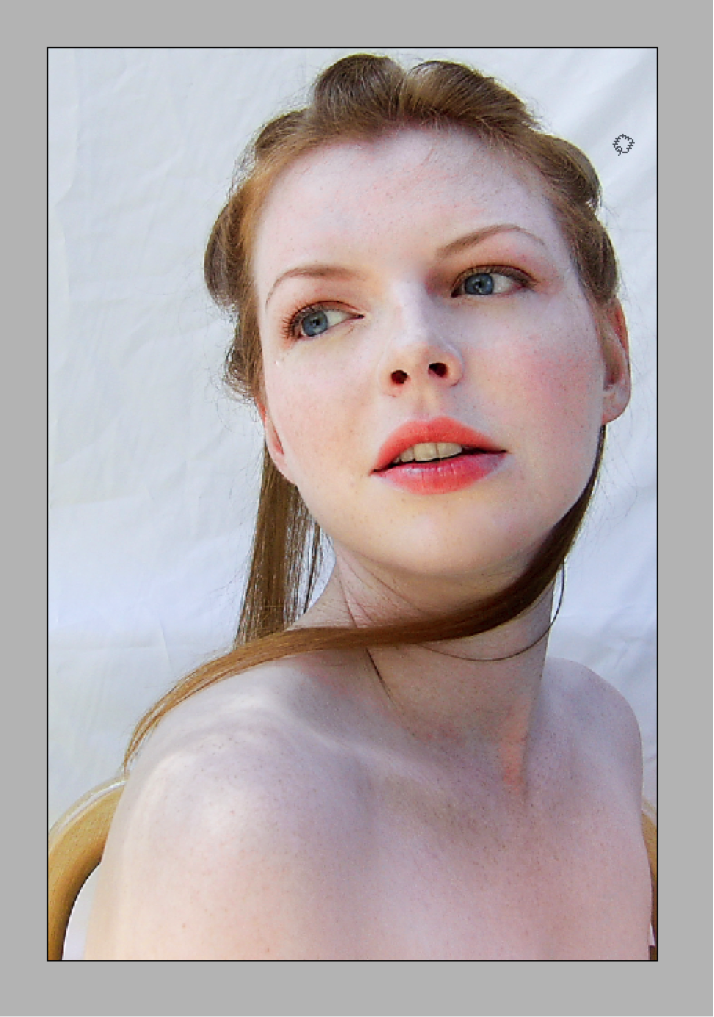
5. Blemish Removal
For this particular step, we shall use Adobe Photoshop however - mostly because it is a lot easier here. First, in order to remove blemishes you should create a duplicate of your background layer. Do this by right-clicking on the Background layer and selecting the Duplicate this Layer Option. This is the version we will be working on. While it's important that you are not sloppy in your correction, it's best not go overboard and have a certain degree of care. Using the healing brush, start healing problematic areas. Fortunately, for this image, there aren't many things to edit.

You should not try to go for the porcelain-face figure. It's actually why you are working on the duplicate layer, so in the end you will be able to mold it in the original file, and make it look real. Now, let's take care of unwanted shadows, like the ones under the eyes. Again, this is a lucky image, the model does not have dark circles under her eyes and her face build does not have them embedded either. But we can still improve that. Select the patch tool and carefully select the area under the eyes and go to a clean area nearby. Notice the difference?
6. Finishing the Job
We can now return to Lightroom to keep going with selective corrections. Make sure you keep it natural at all times.
Good luck!

