How to create wallpapers using Paint.NET
Paint.NET is free image and photo editing software for windows users. Using the exciting features of this tool, users can create and enhance the wallpapers. This tool supports unlimited undo, various effects, layers, and a wide variety of photo editing features. Paint.NET is an enhanced version of MS Paint. If you want to use software which is more featured pack than MS paint and won’t like to use something like Photoshop, then Paint.NET is the good option. Paint.NET is free and open source.
Minimum System Requirements
Windows Platforms, 500 MHz processor, 200+ MB free disks space, 256 MB of RAM, 1024 x 768 screen resolutions, and .NET Framework 2.0 installed
To download this application click on the link www.getpaint.net.
Steps to create wallpapers
Run Paint.NET application using a shortcut on your Desktop or Start menu -> All Programs -> Paint.NET.
1. Click on the window menu and select the history from the drop down menu or Press F6 to view paint history. As shown here at the right top of the Paint Window.
2. To select your image size, go to the Image > Resize (set it 800 x 600).
3. Select the Lines/Curves from the Tools, select the brush width to 35-50, and Set the style Dash-dot-dot. Draw a horizontal line in center (Refer image 1).
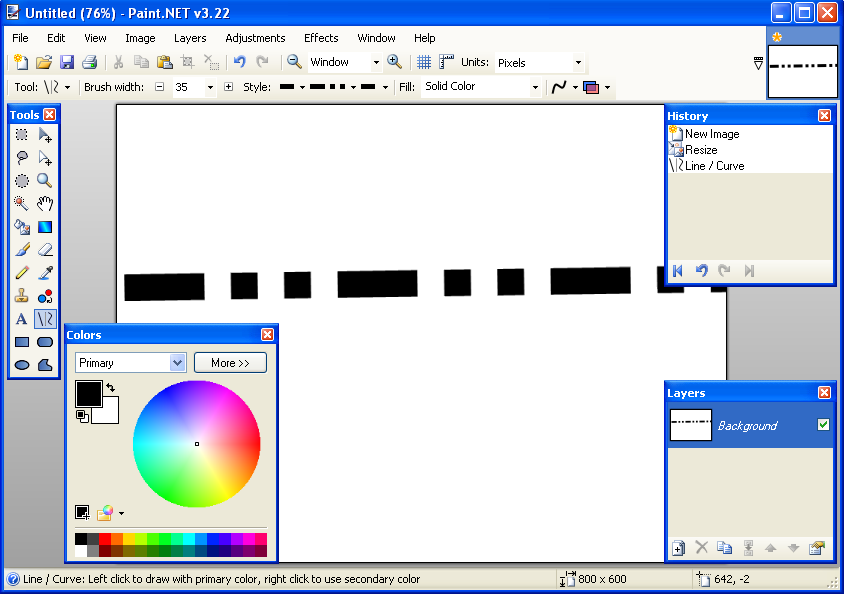
Image 1: First steps to start with wallpaper
4. Go to effect menu -> Blur -> select Zoom blur to develop the center of zooming. Now select the maximum zoom amount.
5. Use Ctrl+Shift+I to invert the colors.
6. Distort the image with the Twist effect=20-30, Quality=5 and create duplicate layer of existing one.
7. Use Twist effect to distort the top layer with: Amount=30 to 60 and select Quality=4
8. Press F4 to view the Properties of the layer and set the blend mode to Overlay. Find the more blend mode that you like most.
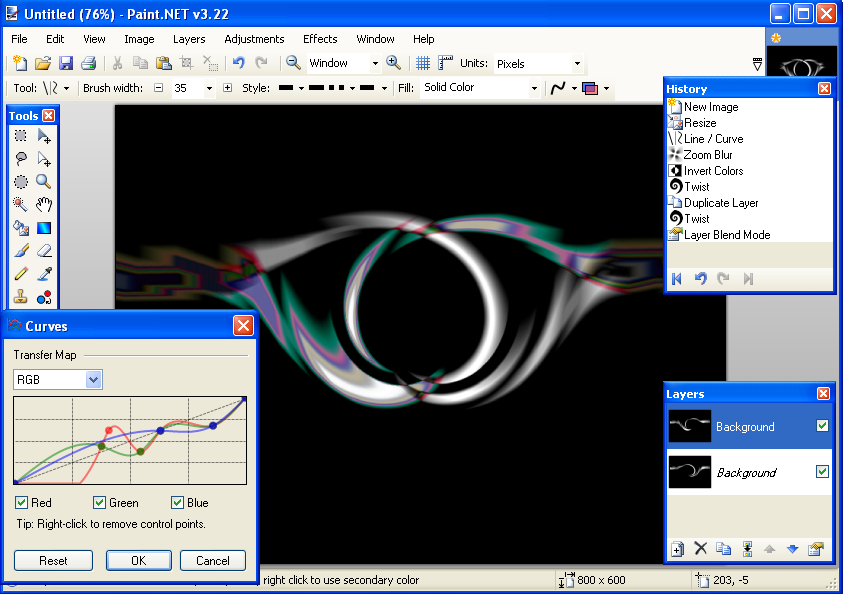
Image 2: shows all steps how to create wallpaper
9. Now go to Adjustments ->Curves…, select the RGB and make it colored on the all layers.
10. And finally, you can view the entire task in the history windows as shown in the image 2.
11. Save the PDN file for later modification. Flatten the image and save as a flat format such as PNG or JPG for your use.
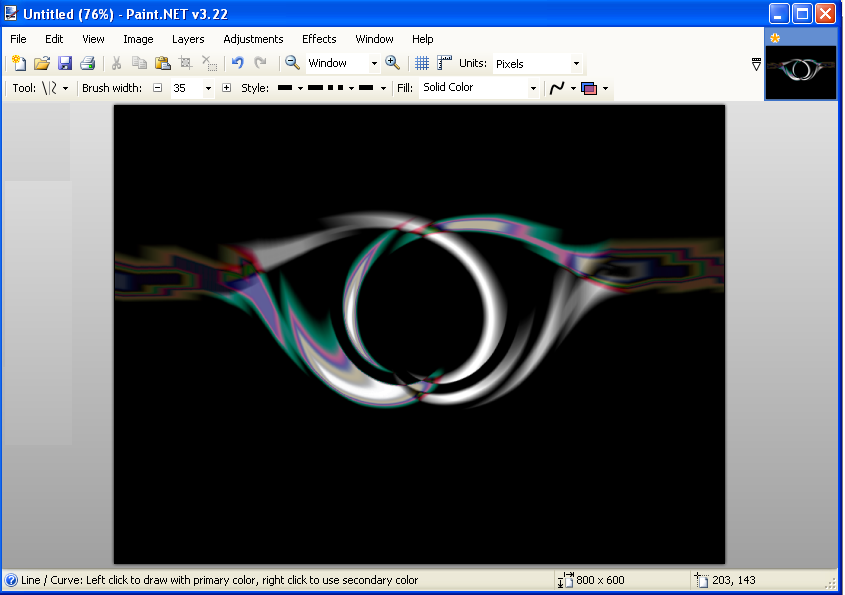
Image 3: desktop wallpaper
Now it’s ready to use as the desktop. In creating the wallpapers, the size of the image and the brush width are most important factors, the zoom blur will give different result depending on these factors.

